In this tutorial I want to cover more details about automated vulnerability scanning starting with the installation process followed by setting up targets, running internal and external scans and finally define custom scanning configurations. Due to the length of the full tutorial we’ll split it into 2 or 3 parts that will be published in the upcoming weeks. In part 1 of this tutorial I want to cover the installation of the most recent version of OpenVAS 9.0, which was released in 2017. The latest version 9.0 introduces a new web interface which offers end users better ways to manage scanning options, assets and workflows through the web interface. In this tutorial we will walk through the installation process on Kali Linux, so we can run vulnerability scans from our own device, and as virtual appliance in a network. The virtual appliance can be installed in a network environment to have it periodically run automated scans on devices present on the network. In part 2 of ‘Vulnerability Scanning with OpenVAS 9.0’ I want to dive a little bit deeper into vulnerability scanning with this tool by configuring targets, assets and custom scanning configurations.
Before we can start configuring vulnerability scans we have to install OpenVAS first. We can do this with a package manager or by installing the OpenVAS appliance on VMware Workstation/ESXi, Oracle VirtualBox or Hyper-V. In the first part of this tutorial we’ll use APT on Kali Linux and then we will set up the appliance on VMware. As far as virtual machine resources are concerned, we’ve dedicated 2 GB of RAM and 2 processor cores to the Kali Linux VM which should be sufficient to run some basic scans smoothly with a limited number of signatures on a limited number of targets.
Installing Openvas 9 on Kali Linux
To install Openvas 9 and its dependencies on our Kali Linux system we simply have to run the following command:
apt-get update && apt-get install openvas
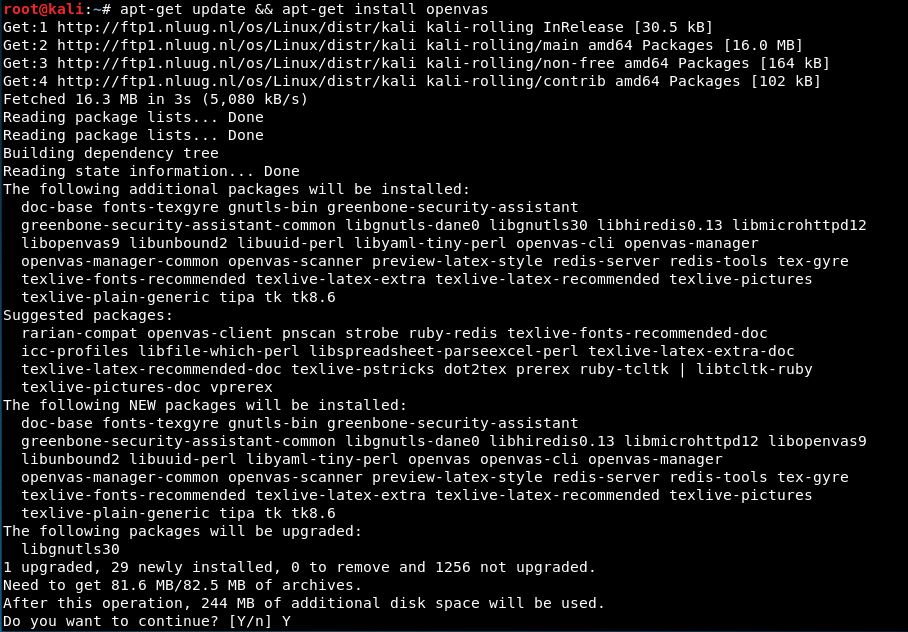
Press ‘Y’ to continue the installation of OpenVAS and dependencies.
The next step to run the setup procedure that will setup OpenVAS and download a large number of Network Vulnerability Tests (NVTs) or signatures. Due to the large number of NVTs (50.000+) the setup procedure might take a while to complete and consume a considerable amount of data. On the test setup we’ve used for this tutorial the total setup procedure took 10 minutes to complete which is not bad at all.
Run the following command to start the setup process:
openvas-setup
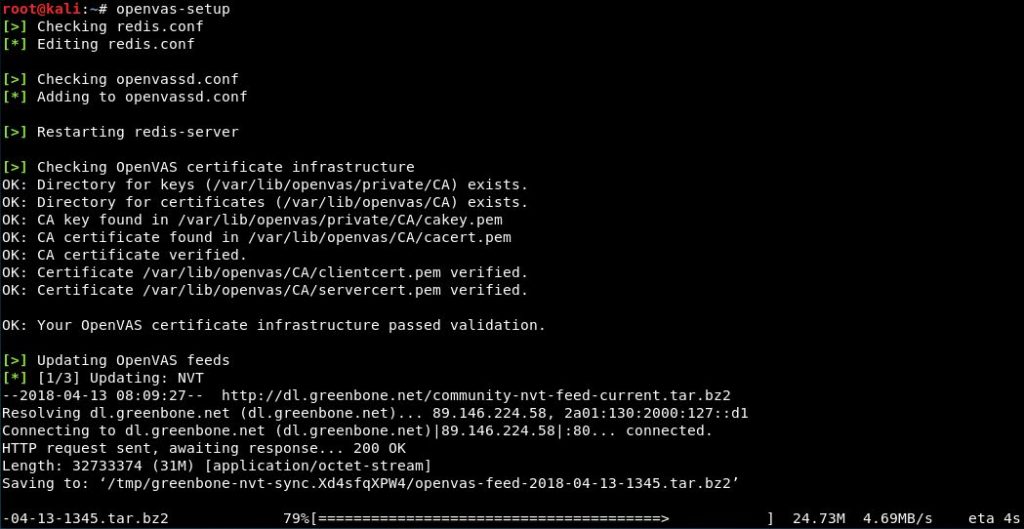
Setup process is running.
When the setup process is finished, all required OpenVAS processes are started and the web interface will be opened automatically. The web interface is running locally on port 9392 and can accessed through: https://localhost:9392. OpenVAS will also setup and admin account and automatically generate a password for this account which is displayed in the last section of the setup output:

Take note of the admin password generated by openvas-setup.
Password reset
Did you forgot to note down the password? You can change the admin password using the following commands:openvasmd –user=[username]–new-password=[password]
openvasmd –user=admin –new-password=[password]
The next step is to accept the self-signed certificate warning and use the automatically generated admin credentials to login on the web interface:
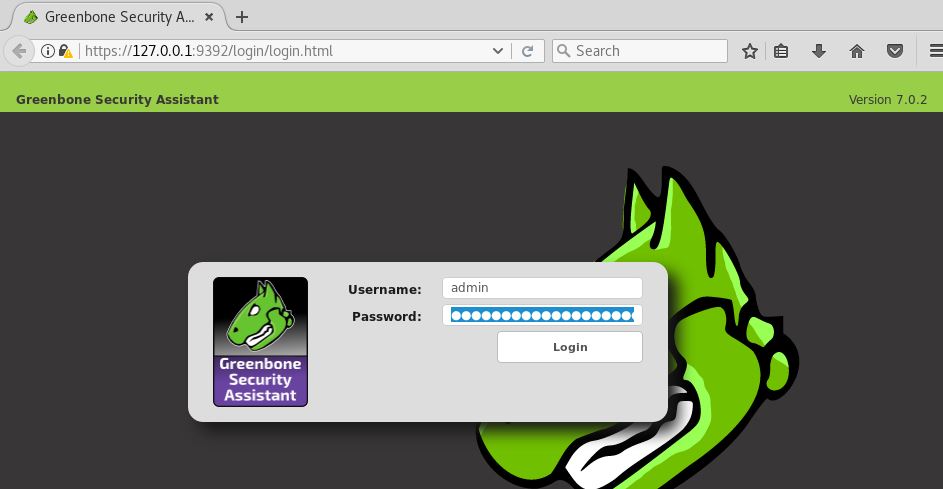
Accept the self-signed certificate warning and use the generated admin credentials to login.
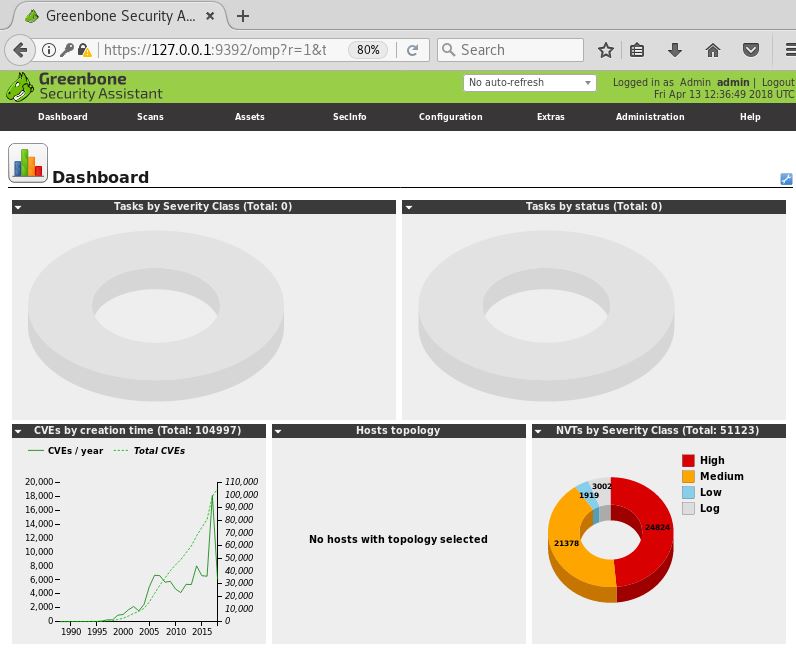
After logging in on the web interface we’re redirected to the Greenbone Security Assistant dashboard. From this point on we can start to configure and run vulnerability scans.
Starting and stopping OpenVAS
The last step I want to point out before we head on with the installation of the virtual appliance is how to start and stop OpenVAS services. OpenVAS services may consume a lot of unnecessary resources and therefore it is advised to terminate these services when you’re not using OpenVAS.
Run the following command to stop the services:
openvas-stop
To start the OpenVAS services again, run:
openvas-start
Setting up the OpenVAS Virtual Appliance
Instead of installing OpenVAS on Kali Linux we can also install the OpenVAS virtual appliance in a network and configure it to periodically run scans on the network. The virtual appliance can be downloaded using the following link: http://www.openvas.org/vm.html
After downloading the virtual appliance from the OpenVAS website we have to configure a new virtual machine. In this tutorial we will be using VMware but you can also use other hypervisors such as Hyper-V on Windows or Oracle VirtualBox. In production environments you will most likely use VMware ESXi, Microsoft Hyper-V or other hypervisors. Let’s start with configuring a VM with the following specifications:
- Processor cores: 2
- 2 GB RAM
- 10 GB Hard disk
- Network: NAT (only when using VMware Workstation/Free/Virtualbox)
- CD/DVD drive: ISO (choose the downloaded iso file as medium)
- Guest operating system: Linux Kernel 4.x or later 64-bit (VMWare) or Other Linux (64bit) (VirtualBox)
For VMWare Workstation the virtual machine will be configured as follows:
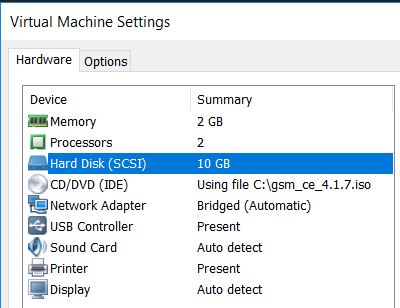
And for VMWare ESXi we’ll create a virtual machine with the following specifications:
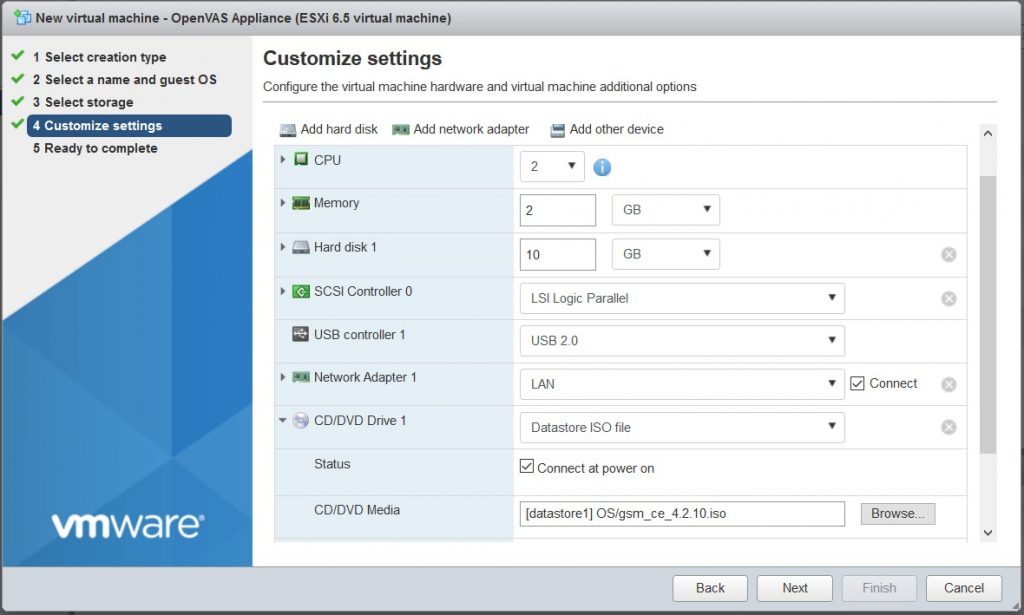
The next step is to boot the virtual machine which will take us to the following installation menu:
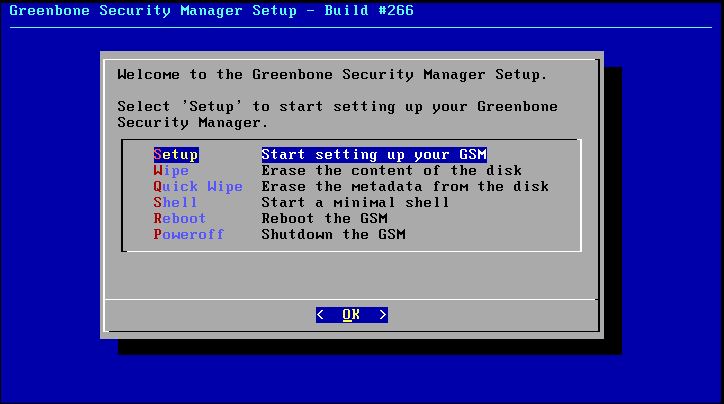
Choose setup to install the GSM appliance.
From this menu choose the setup option. Next we’re asked if we really want to format the hard drive, choose yes:
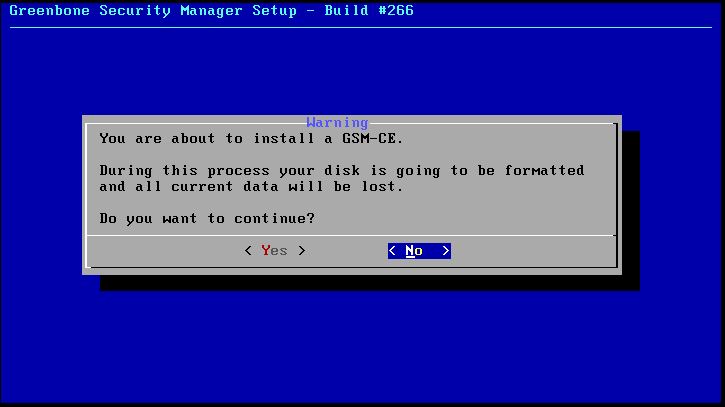
Choose yes to proceed with the installation.
At this point the virtual appliance will be installed and we’re presented with a dialog saying that the installation is in progress and the GSM community edition is being prepared. Please note that this process might take a while to complete. When the installation process is finished we have to specify a username for the administrator user. We’ll keep it default as admin as well as the password:
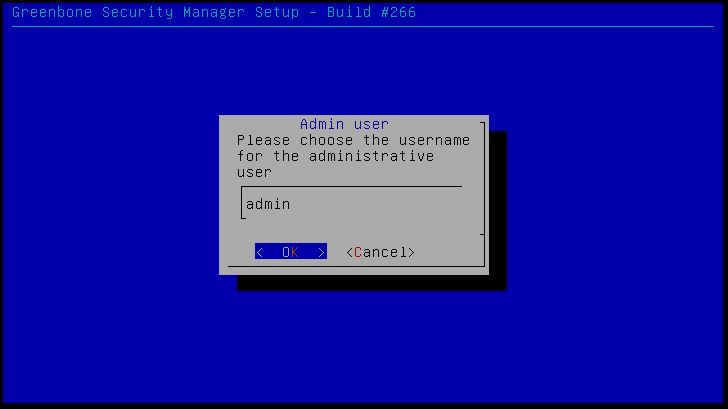
Choose the admin username/password.
Tip: If you’re installing the appliance in your production network make sure that you choose a strong password for the administrative account.
After specifying the username and password we’re asked to reboot the machine, choose ‘yes’ to reboot and also to eject the installation medium:
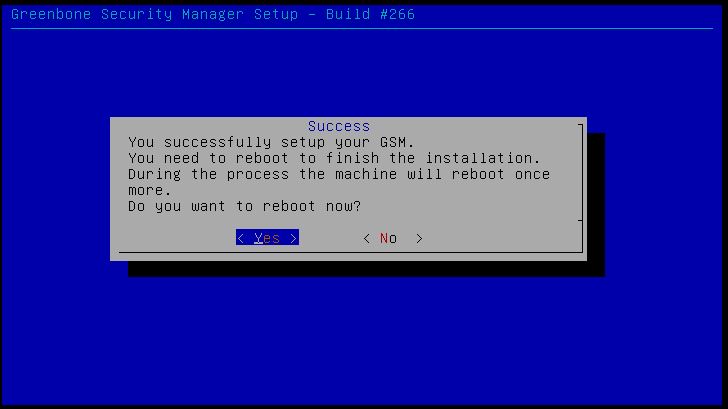
Choose Yes to reboot the machine.
After the virtual machine has rebooted (twice) we’re taken to a login screen looking as follows:
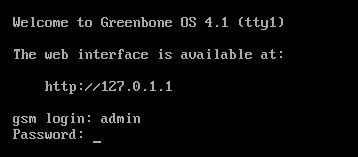
Appliance login
Note: After the first reboot we’re presented with a different login screen, just wait until the second reboot happens.
Here we can login using the credentials we’ve created earlier in the installation process (username: admin). After logging in we’re presented with the following message which tells us OpenVAS has not been fully configured yet. From here we can proceed with the setup process. Choose ‘yes’ in the following menu the proceed with the setup process:

Choose ‘Yes’ to configure GSM.
Next, we’re asked to configure an IP address for the appliance, choose ‘yes’:

Choose ‘Yes’.
For our test setup we’ll keep the network configuration default and have it assigned an IP address by our DHCP server. Optionally you can set a static IP address which is of course the recommended option in a production environment. Choose ‘Ready’ to proceed:
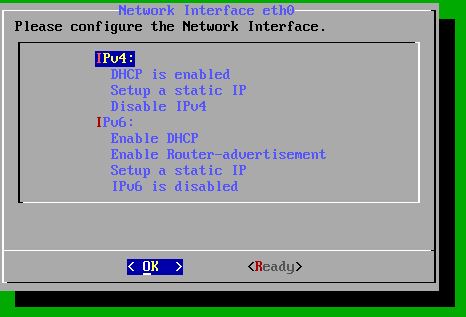
The next step is to create a web-admin user, choose ‘Yes’ in the following menu:
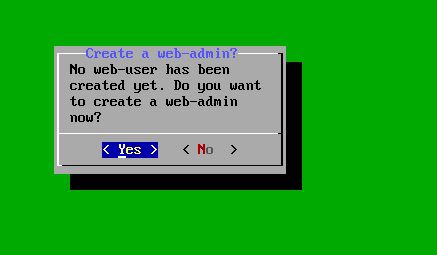
Choose web-user username and password.
Create the user by choosing a username and password:
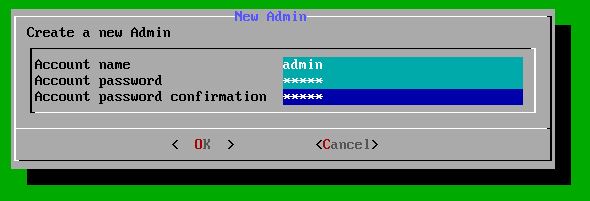
Create the web-admin user by specifying a username and password.
Finally we’re ask about a subscription key, unless you’re in the possession of a subscription key, choose ‘skip’ which will provide us with the Greenbone community feed:
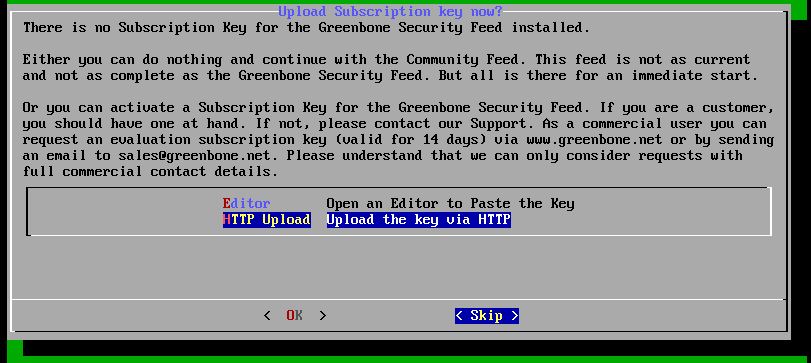
Choose ‘skip’ if you don’t have a subscription key.
Next we’re asked if we want to update the feed, choose ‘yes’ to upgrade the feed in the background. After running through all settings we can log out or reboot the appliance and we’re presented with an IP address to access the web interface:
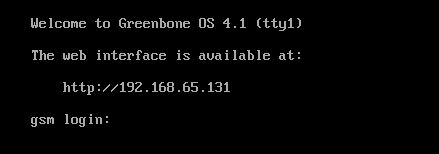
IP address for the web interface.
When we browser to the web interface we’re presented with a login page. Use the credentials of the web-admin account we’ve created during the configuration process:
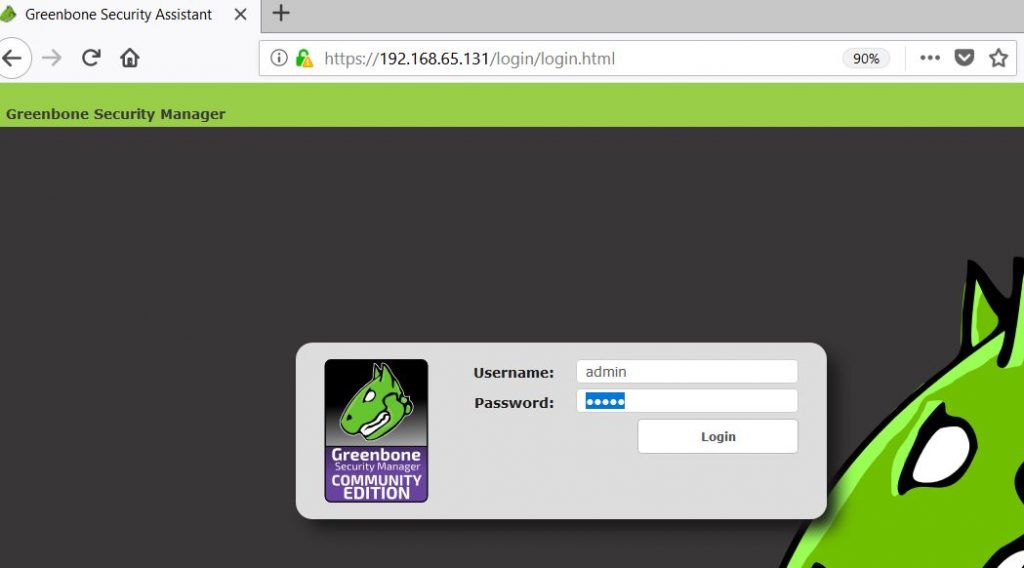
Use the web-admin account to login.
At this point we’ve got a fully functional OpenVAS virtual appliance up and running that can be configured to run vulnerability scans. This will conclude the installation process of the appliance. In part 2 (will be published on 9 May 2018) we will continue with configuring targets, assets and run vulnerability scans.

No comments: